In this post we will see how to setup system environment for practicing Python pandas. There are many ways to practice pandas which we will see them shortly below, but it is best if you to use choose anyone of these method well suited for you.
Installing Pandas
Before installing Pandas, you have to make sure Python is installed, for more information on how to install Python visit. To install Pandas, open up the command prompt and type the below command
pip install pandas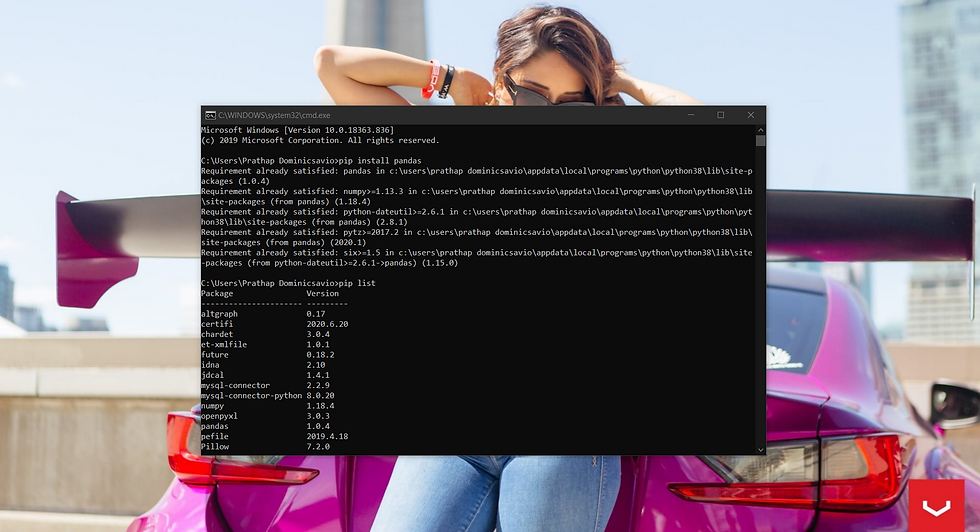
Installing IDEs to work with Pandas
We will be working with dataframes (data with rows and column) in Pandas, which will be daunting when we don't have right tool to work on. These tools will help us visualize the dataframes and output of the programs. Some of the popular tools are,
Jupyter Notebook
Pycharm
Jupyter Notebook
Jupyter is one of the popular tool or IDE when working with Pandas as they allow us to share live code, equations and to visualize the data. To install python open command prompt and type the below command,
pip install jupyterlab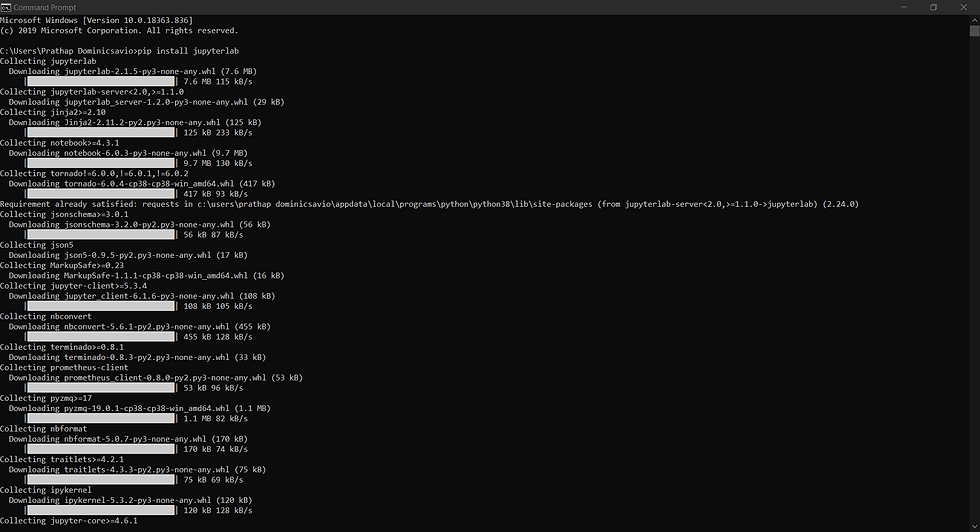
Now launch Jupyter notebook from either Start Menu or CMD using,
jupyter notebook
Click the New button and select Python3 to start the Notebook were we can enter our code in cell and hit SHIFT+ENTER to compile. This is how we will be entering and compiling our python scripts.
Don't close the terminal which was used to start the Jupyter notebook as it will turn off the server and you will be unable to access Notebook on browser.
Pycharm
Pycharm is another best was to run our code, it has IntelliSense, version control and debugger which can be used to run and maintain scripts best was possible. Visit the link https://www.jetbrains.com/pycharm/ to download the package and then follow through the simple installation step to complete.
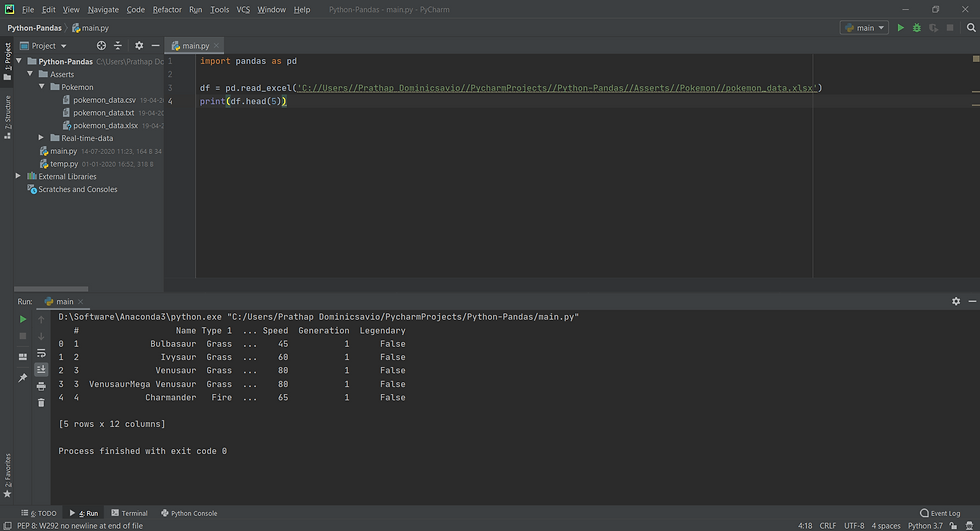
Open a new project and create a simple python script when done press SHIFT+F10 to run the script.
Lets Start Coding
We will first start how to open and work with data file and then we will work our way to aggregation and sorting. In this and upcoming post we will be using a set of datasheets which will is attached below.
IN[1]
import pandas as pd

df = pd.read_excel('C://Users//Prathap Dominicsavio//PycharmProjects//Python-Pandas//Asserts//Pokemon//pokemon_data.xlsx')
print(df.head(5))
OUT[1]
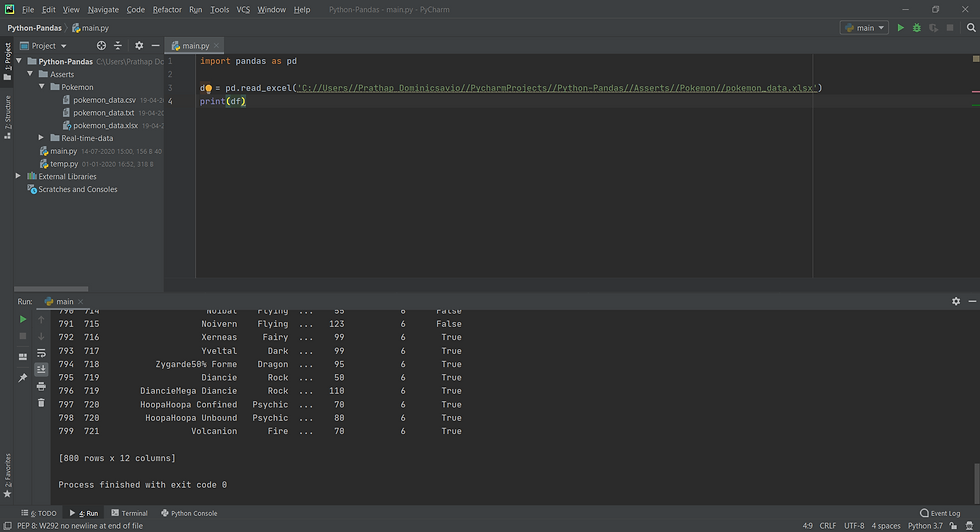
First we import pandas module as pd, this is just a common conversion. Then we declare a variable to assign value of pd.read_excel()method, file name is passed as the argument. Finally we use print method to print the entire spreadsheet by printing the variable named df.
Similarly to open and work with the csv file we have to use a similar method, which is read_csv() and file name of the csv file has to be passed as argument.
Getting Count of Rows and Columns
IN[2]
import pandas as pd

df = pd.read_csv('C://Users//Prathap Dominicsavio//PycharmProjects//Python-Pandas//Asserts//Pokemon//pokemon_data.csv')
print(df.shape)
OUT[2]

Using the shape method we will able to return a tuple containing rows and columns.
Getting Datatype of rows and column
IN[3]
print("\n Printing Datatype of Rows")
print(df.info())
OUT[3]

Datatype of the column us displayed along with the column name, at the end it will also share the total count of each data type which can be really handy as it is even hard to find them using spreadsheets.
Displaying all the rows and column
IN[4]
print("\n Configure to display all rows and columns")
pd.set_option("display.max_columns", 85)
pd.set_option("display.max_rows", 85)
print(df)
OUT[4]

By default when you load and print a dataframe it will be concatenated and prints only first and last few rows. In order to avoid that we can use the set option method to pass in row numbers. After this it all load all the rows (number defined inside the method) and interpreter will not concatenate the rows anymore.
Displaying specific no of rows and columns.
IN[5]
print("\n Display first n rows")
print(df.head(5))

print("\n Display last n rows")
print(df.tail(5))
OUT[5]

We can use the method head and tail to display first and last n rows(i.e, n as an integer), when n is passed as an argument.