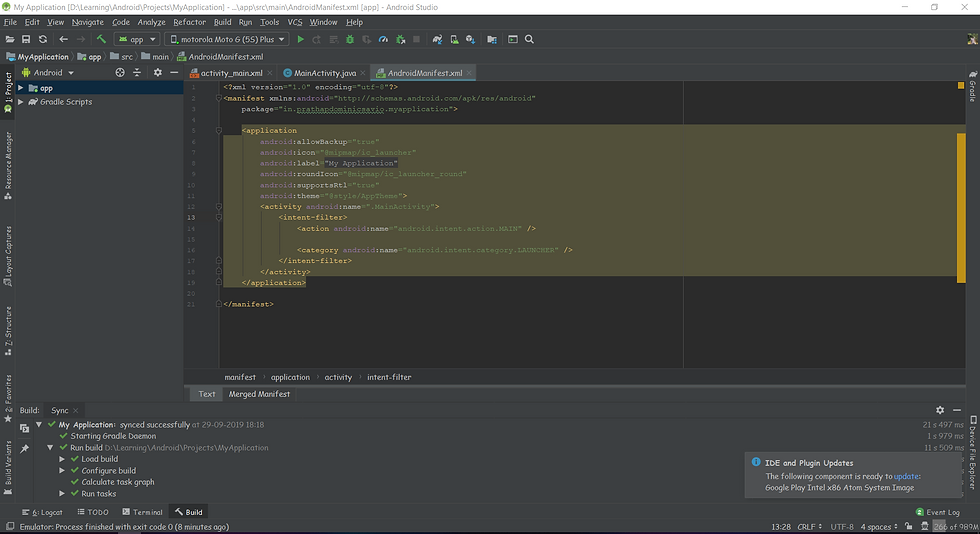
There are two ways of running a android app developed in Android Studio, 1. Running via a virtual device created with AVD manager. 2. Using an external android application with USB debugging enabled on it. We will discuss about the both in this session.
1. AVD Manager
By default Android Studio is packed with AVD manager capable of creating and organizing you virtual android in system. This will help to to create any android virtual device(need to download relevant API images) and test your application. You can find AVD manager in toolbar, once opened you will get the following window

If your are new then your window will be empty so click the create virtual device button.

Choose any category and device to proceed, you can also import other hardware profiles. Click next.

On earlier window you might selected a device now you have to select the system image, it is recommended to choose higher API(it will run apps with lower API).
Finally click run button. the device boot time will be higher at initial which is depending on your system. Once it is booted you will see a phone like system hovered above your android Studio.

2. USD Debugging enabled android devices.
We have an option on our android devices called USD debugging mode, when this is enabled it will allow to run you android application straight from Android Studio to your mobile devices.
First enable developer option on your android by tapping 8 time on device built number. Once enabled you will find an option named USD debugging enable it. Then plug you android application to you system the press Run button or Shift + F10. You will find a new option named with your device . Select it, now your android project will be running on the device connected.


